Installation
This section describe how to install and run the basic components and tools to start developing using Camunda Workflow Engine.
Create Project#
In order to create a camunda project, there are several options to choose from. The simplest options are by using initializers that creates java projects with the main dependencies and configuration.
Spring Initializer#
Spring Initializr provides an extensible API to generate JVM-based projects with implementations for several common components and dependencies.
Note
The recommendation is to use spring initializer as a base for the project and start adding Camunda dependencies on top. The parent will inherit the common plugins and dependencies in Spring Boot ecosystem.
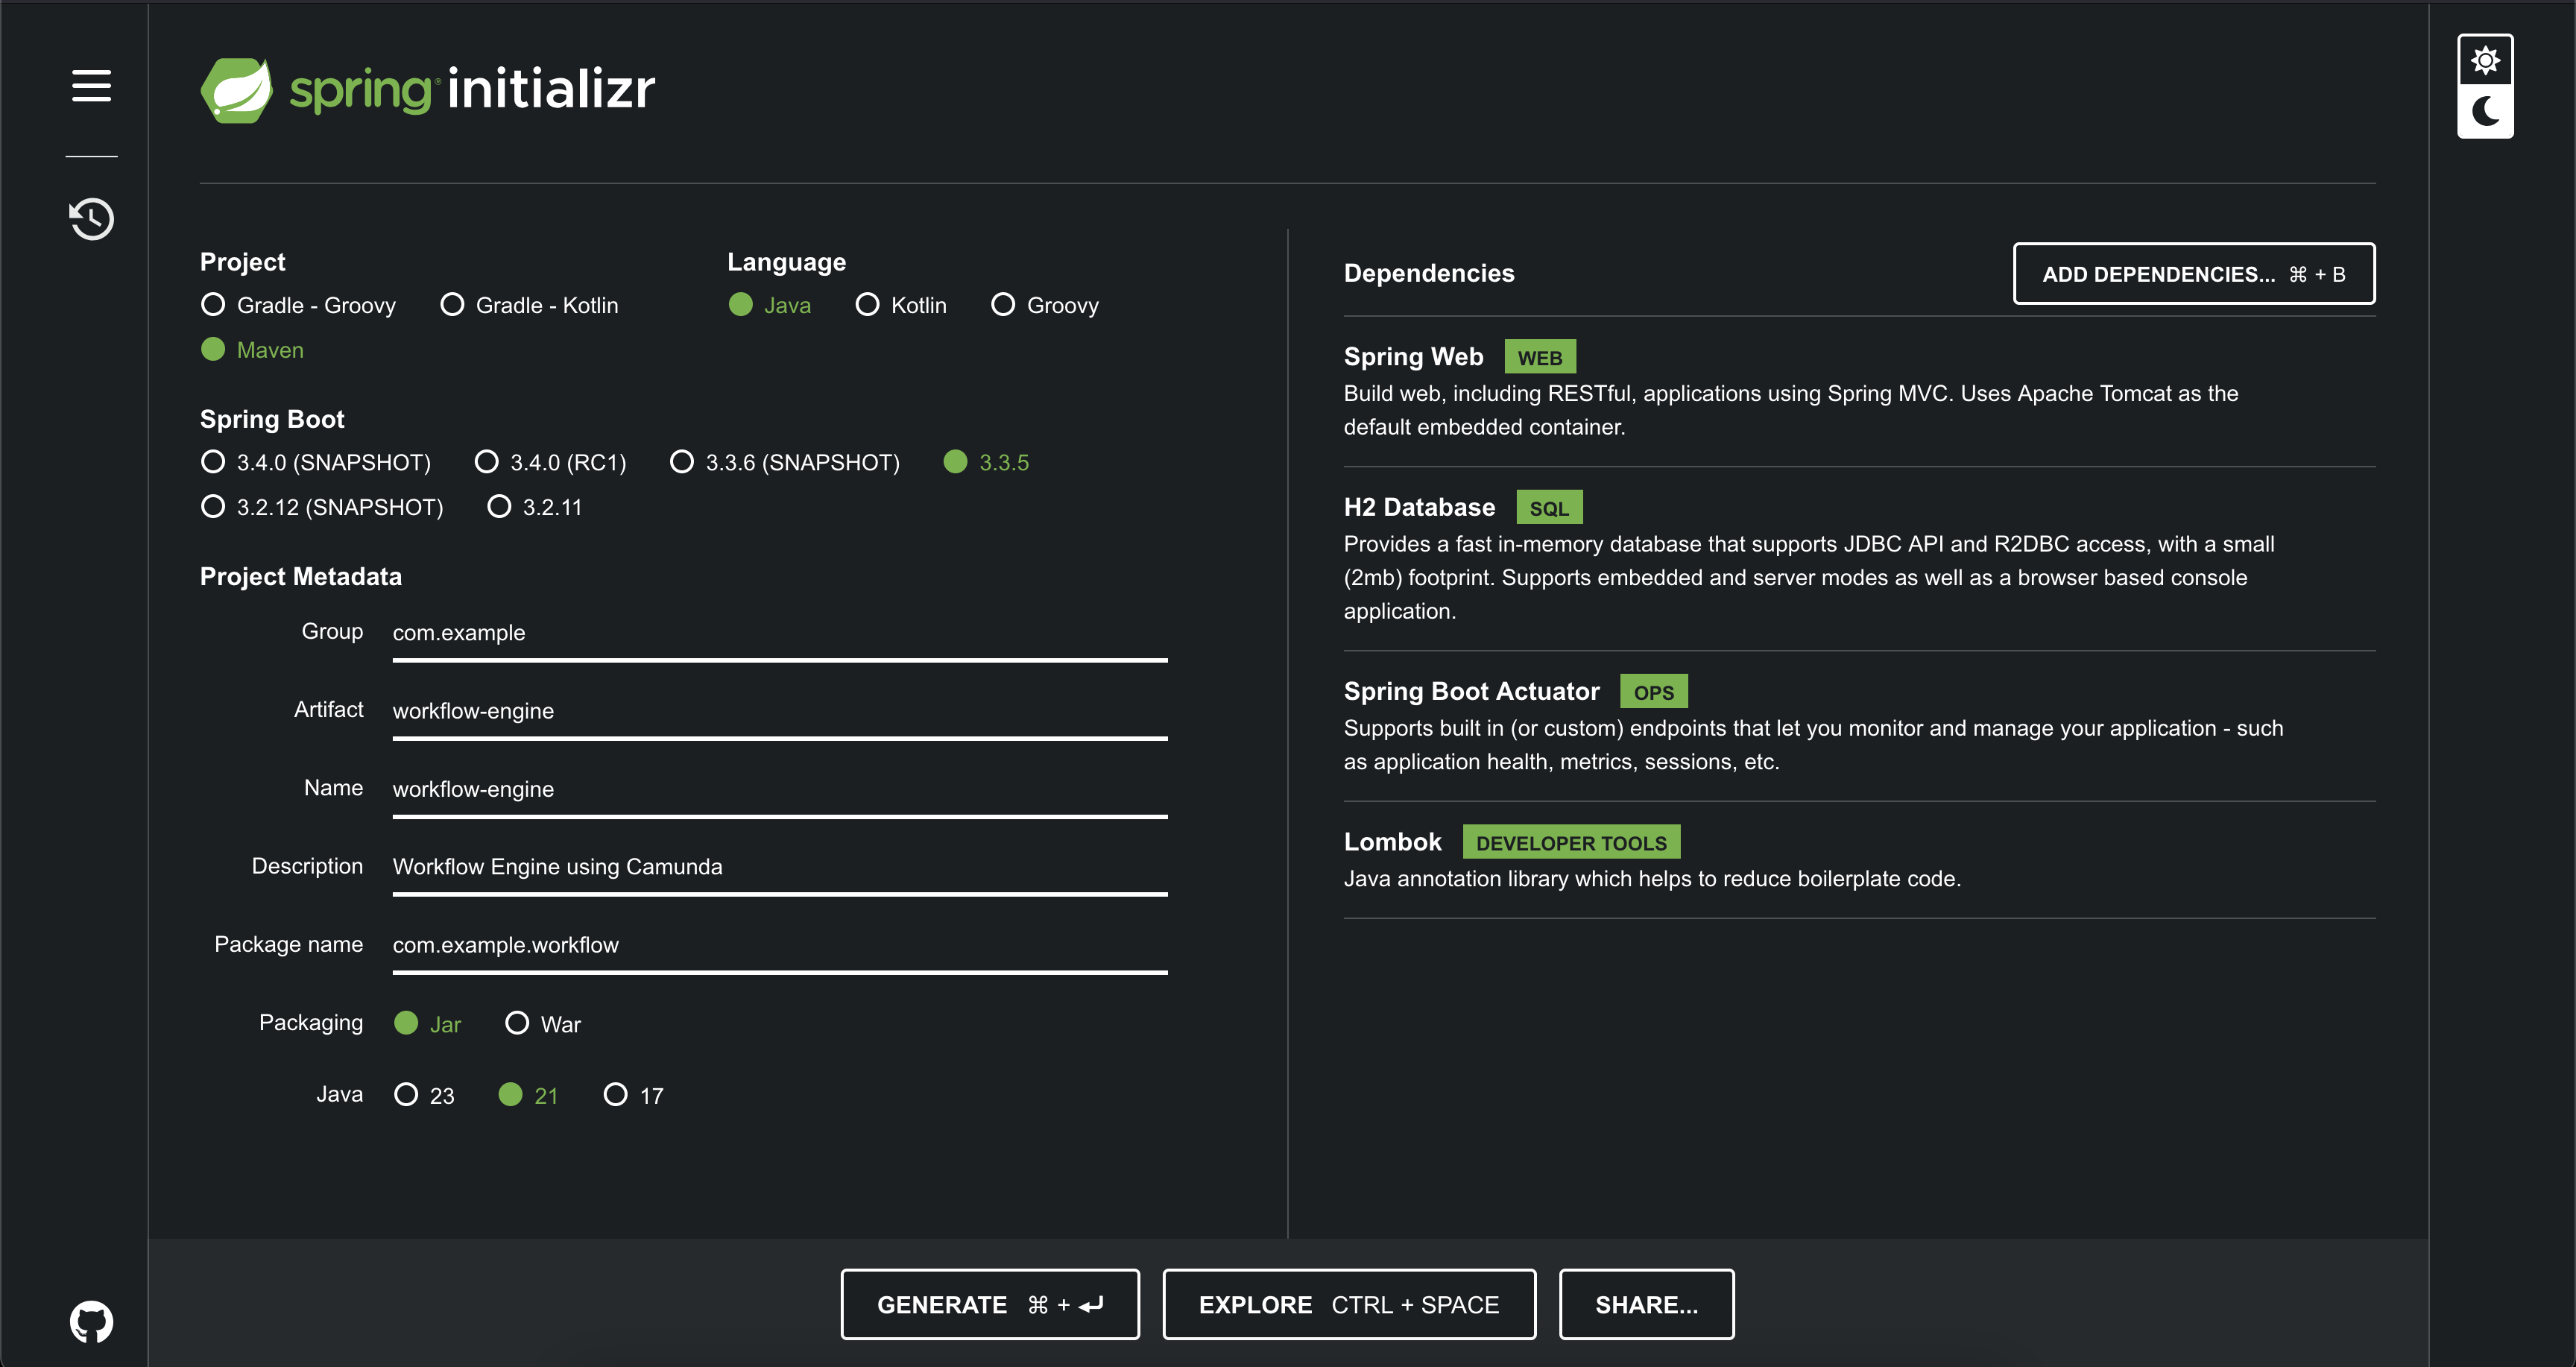
Finally add following dependencies into pom.xml file.
Note
Use the proper camunda.version to your needs. The current version at this moment is 7.22.0.
    <dependencyManagement>
        <dependencies>
            <dependency>
                <groupId>org.camunda.bpm</groupId>
                <artifactId>camunda-bom</artifactId>
                <version>${camunda.version}</version>
                <scope>import</scope>
                <type>pom</type>
            </dependency>
        </dependencies>
    </dependencyManagement>
  <dependencies>
    <!-- Camunda dependencies -->
    <dependency>
        <groupId>org.camunda.bpm.springboot</groupId>
        <artifactId>camunda-bpm-spring-boot-starter-rest</artifactId>
    </dependency>
    <dependency>
        <groupId>org.camunda.bpm.springboot</groupId>
        <artifactId>camunda-bpm-spring-boot-starter-webapp</artifactId>
    </dependency>
    <dependency>
        <groupId>org.camunda.bpm</groupId>
        <artifactId>camunda-engine-plugin-spin</artifactId>
    </dependency>
    <dependency>
        <groupId>org.camunda.spin</groupId>
        <artifactId>camunda-spin-dataformat-all</artifactId>
    </dependency>
  <dependencies>
Camunda Initializer#
Go to camunda initializer website, that allows you to create a Spring Boot application with the main dependencies and configuration to start working with Camunda very quickly.
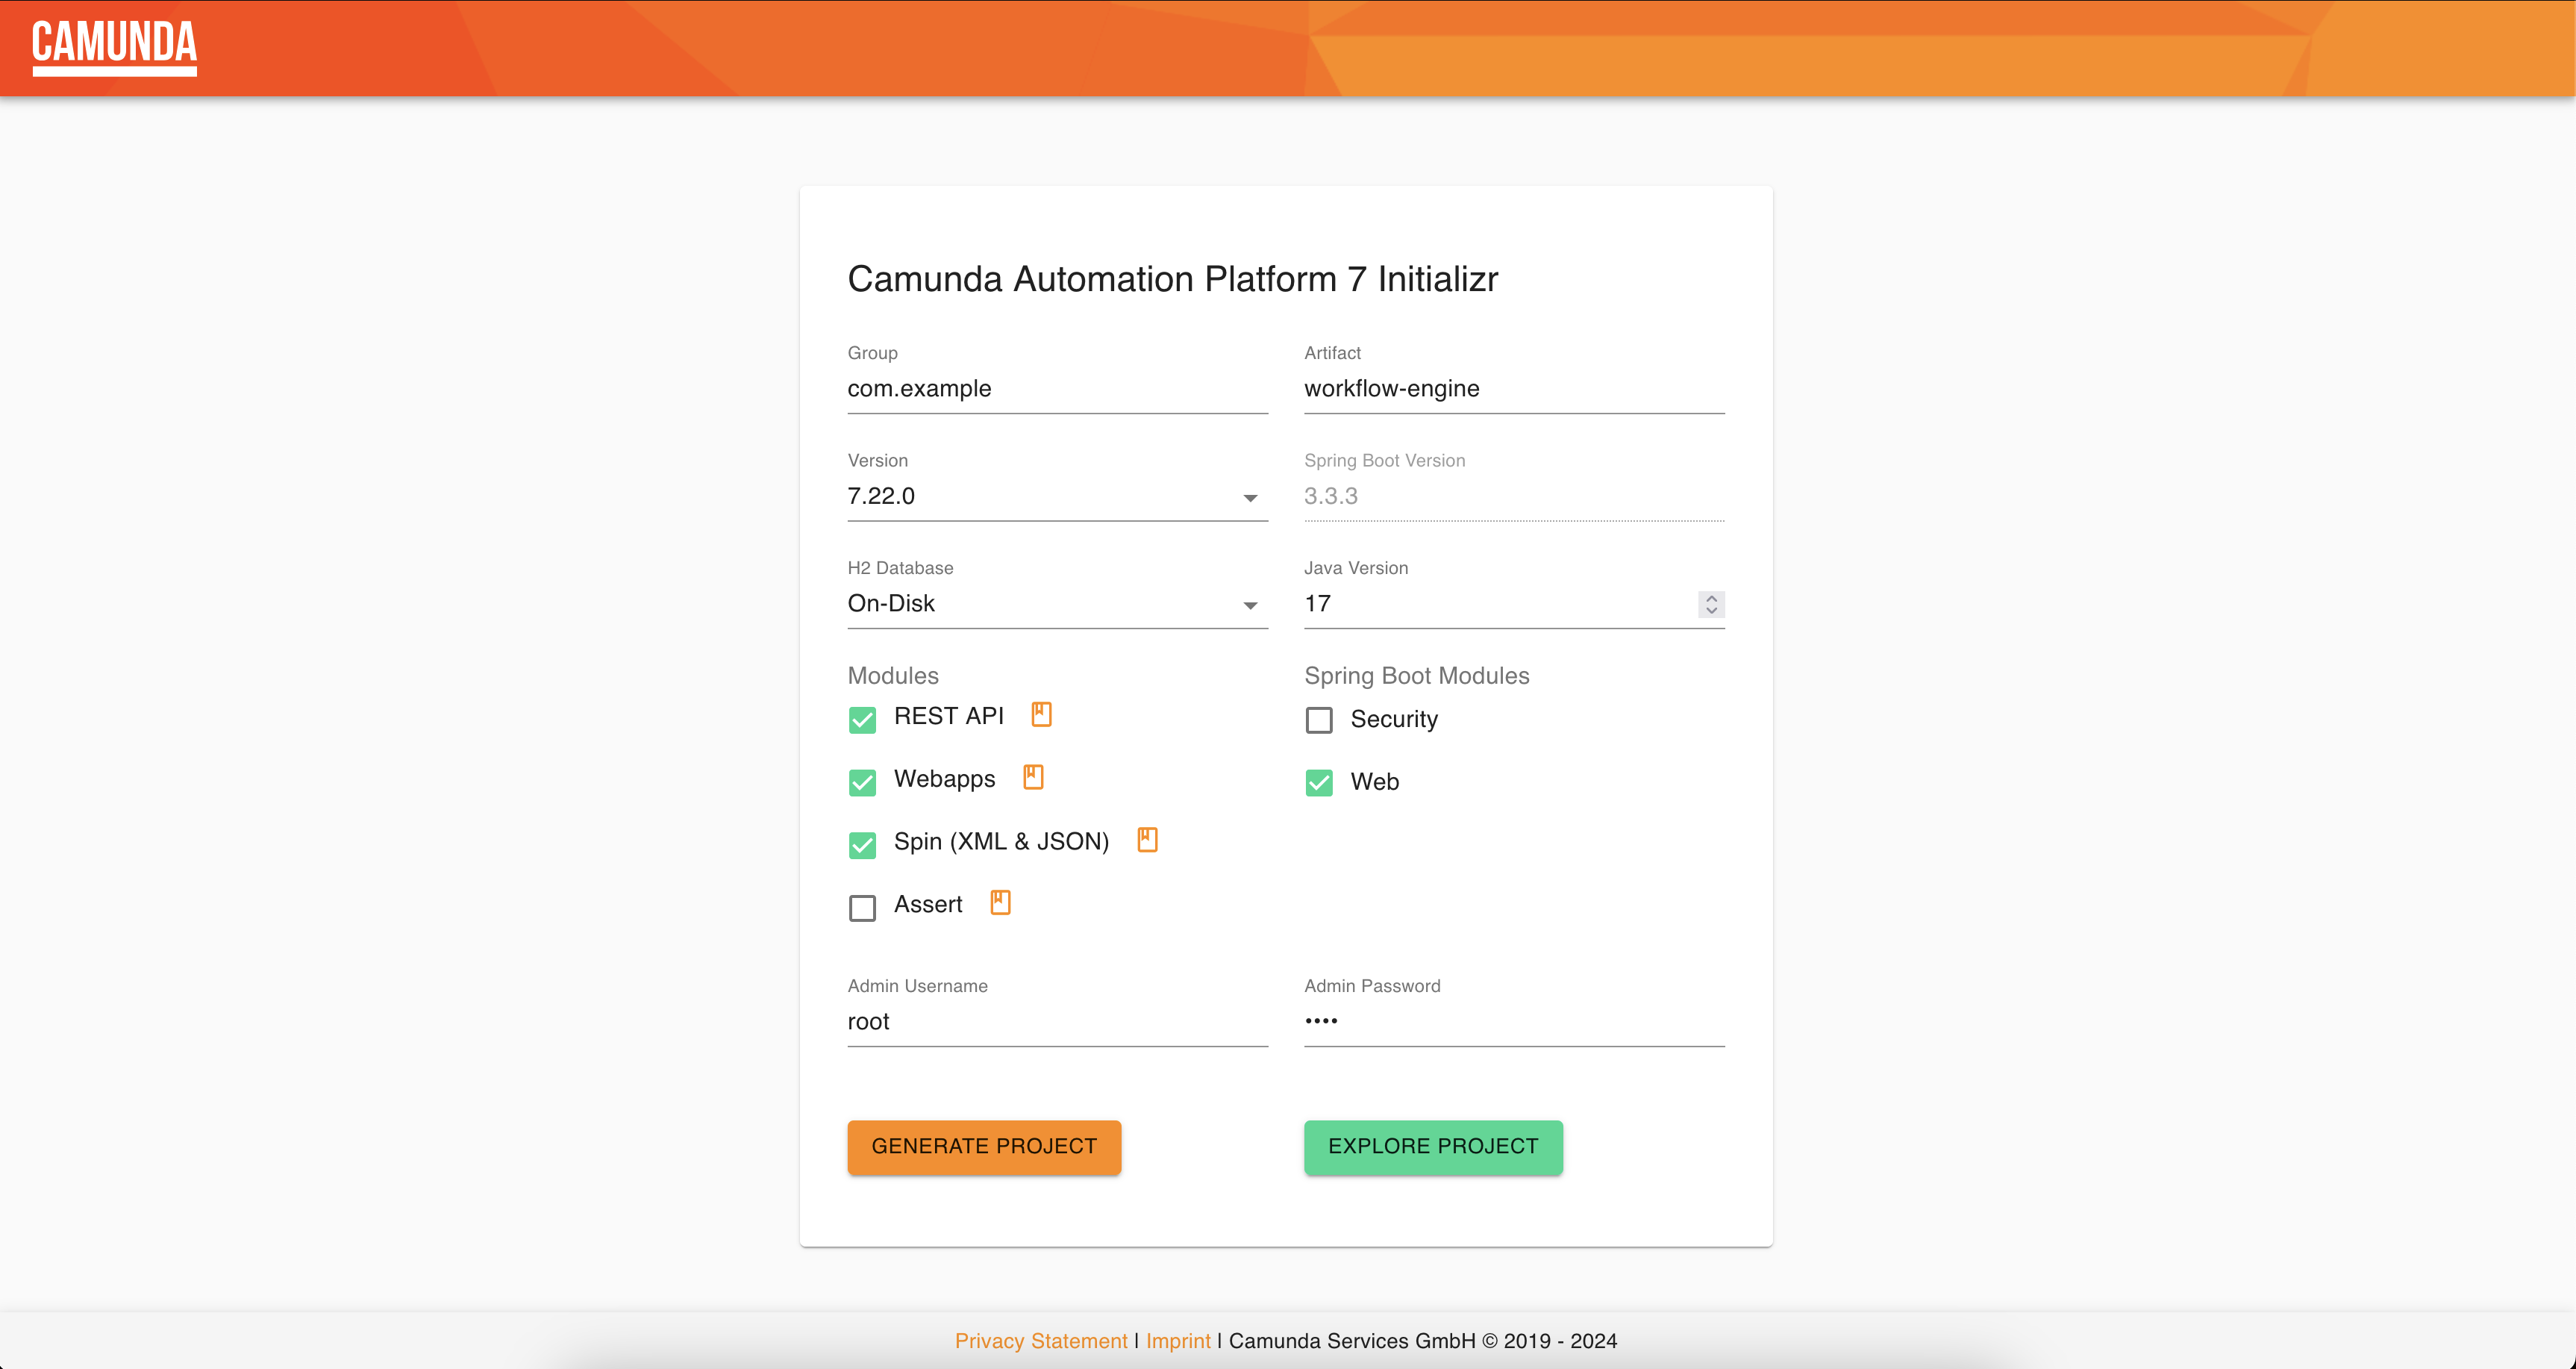
The description of the modules are:
- REST API: The goal of the REST API is to expose and provide access to all relevant interfaces of the engine.
- WebApps (Cockpit): It provides access to deployed BPMN processes and DMN decisions, allows searching though running and ended instances and performing operations on these.
- Spin (XML & JSON): Camunda Spin is a library for simple XML and JSON processing on the JVM (Java Virtual Machine), targeting Java and JVM-based scripting languages such as Groovy, JRuby, Jython, JavaScript and Java Expression Language. It provides a comprehensible fluent API for working with different data formats through lightweight wrapper objects.
Configuration#
Add the configuration needed to run Camunda Engine into src/main/resources/application.yaml.
Database Configuration#
spring:
  application:
    name: workflow-engine
  datasource:
    url: jdbc:h2:mem:db
    username: sa
    password: password
    driverClassName: org.h2.Driver
Camunda Configuration#
You can see all Camunda configuration in the official documentation.
camunda:
  bpm:
    deployment-resource-pattern: classpath:workflows/**/*.bpmn,classpath:workflows/**/*.dmn,classpath:workflows/**/*.form
    filter:
      # Create a default filter to see all tasks in task list
      create: All tasks
    authorization:
      # Block users from other groups from claiming the task not assigned to it.
      enabled: true
    # https://docs.camunda.org/manual/latest/user-guide/spring-boot-integration/configuration/#generic-properties
    generic-properties:
      properties:
        # Each execution of a model resource (BPMN, DMN, and CMMN) generates historic data during execution
        # that is stored in the database. In Camunda 7, history cleanup removes this historic data from the
        # database based on a defined history time to live (HTTL).
        # https://docs.camunda.io/docs/components/modeler/reference/modeling-guidance/rules/history-time-to-live/
        historyTimeToLive: P30D
        # Expression evaluation is enabled for any query. Use this setting if all users are trusted.
        enableExpressionsInAdhocQueries: true
        enableExpressionsInStoredQueries: true
        # Set Process order policy for Job Execution
        jobExecutorAcquireByDueDate: true
        # jobExecutorAcquireByPriority: true
    job-execution:
      core-pool-size: 3
      max-pool-size: 10
      queue-capacity: 3
      max-jobs-per-acquisition: 3
    admin-user:
      id: admin
      password: password
Workflows#
Finally add the following BPMN file into src/main/resources/workflow with a simple task called Process Simple.
<?xml version="1.0" encoding="UTF-8"?>
<bpmn:definitions xmlns:bpmn="http://www.omg.org/spec/BPMN/20100524/MODEL" xmlns:bpmndi="http://www.omg.org/spec/BPMN/20100524/DI" xmlns:dc="http://www.omg.org/spec/DD/20100524/DC" xmlns:di="http://www.omg.org/spec/DD/20100524/DI" xmlns:camunda="http://camunda.org/schema/1.0/bpmn" id="Definitions_0fr9mxs" targetNamespace="http://bpmn.io/schema/bpmn" exporter="Camunda Modeler" exporterVersion="5.28.0">
<bpmn:process id="process-simple" name="Process Simple" isExecutable="true" camunda:historyTimeToLive="180">
<bpmn:startEvent id="StartEvent_1">
<bpmn:outgoing>SequenceFlow_1fp17al</bpmn:outgoing>
</bpmn:startEvent>
<bpmn:sequenceFlow id="SequenceFlow_1fp17al" sourceRef="StartEvent_1" targetRef="say-hello" />
<bpmn:endEvent id="EndEvent_0x6ir2l">
<bpmn:incoming>SequenceFlow_16gzt2m</bpmn:incoming>
</bpmn:endEvent>
<bpmn:sequenceFlow id="SequenceFlow_16gzt2m" sourceRef="say-hello" targetRef="EndEvent_0x6ir2l" />
<bpmn:userTask id="say-hello" name="Say hello to demo" camunda:candidateUsers="demo">
<bpmn:incoming>SequenceFlow_1fp17al</bpmn:incoming>
<bpmn:outgoing>SequenceFlow_16gzt2m</bpmn:outgoing>
</bpmn:userTask>
</bpmn:process>
<bpmndi:BPMNDiagram id="BPMNDiagram_1">
<bpmndi:BPMNPlane id="BPMNPlane_1" bpmnElement="process-simple">
<bpmndi:BPMNShape id="_BPMNShape_StartEvent_2" bpmnElement="StartEvent_1">
<dc:Bounds x="179" y="99" width="36" height="36" />
</bpmndi:BPMNShape>
<bpmndi:BPMNShape id="EndEvent_0x6ir2l_di" bpmnElement="EndEvent_0x6ir2l">
<dc:Bounds x="432" y="99" width="36" height="36" />
</bpmndi:BPMNShape>
<bpmndi:BPMNShape id="UserTask_08mft2c_di" bpmnElement="say-hello">
<dc:Bounds x="270" y="77" width="100" height="80" />
</bpmndi:BPMNShape>
<bpmndi:BPMNEdge id="SequenceFlow_1fp17al_di" bpmnElement="SequenceFlow_1fp17al">
<di:waypoint x="215" y="117" />
<di:waypoint x="270" y="117" />
</bpmndi:BPMNEdge>
<bpmndi:BPMNEdge id="SequenceFlow_16gzt2m_di" bpmnElement="SequenceFlow_16gzt2m">
<di:waypoint x="370" y="117" />
<di:waypoint x="432" y="117" />
</bpmndi:BPMNEdge>
</bpmndi:BPMNPlane>
</bpmndi:BPMNDiagram>
</bpmn:definitions>
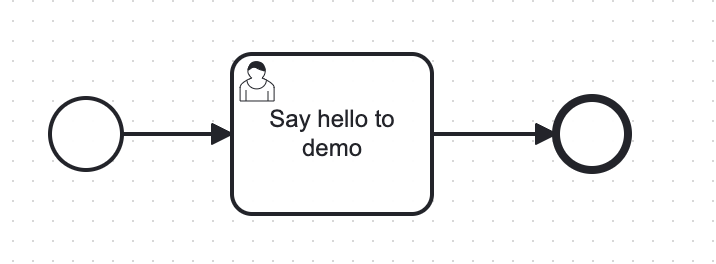
The diagram of previous BPMN process is the following.
Modeler#
Camunda Modeler is an integrated modeling solution for BPMN, DMN, and Forms based on bpmn.io.
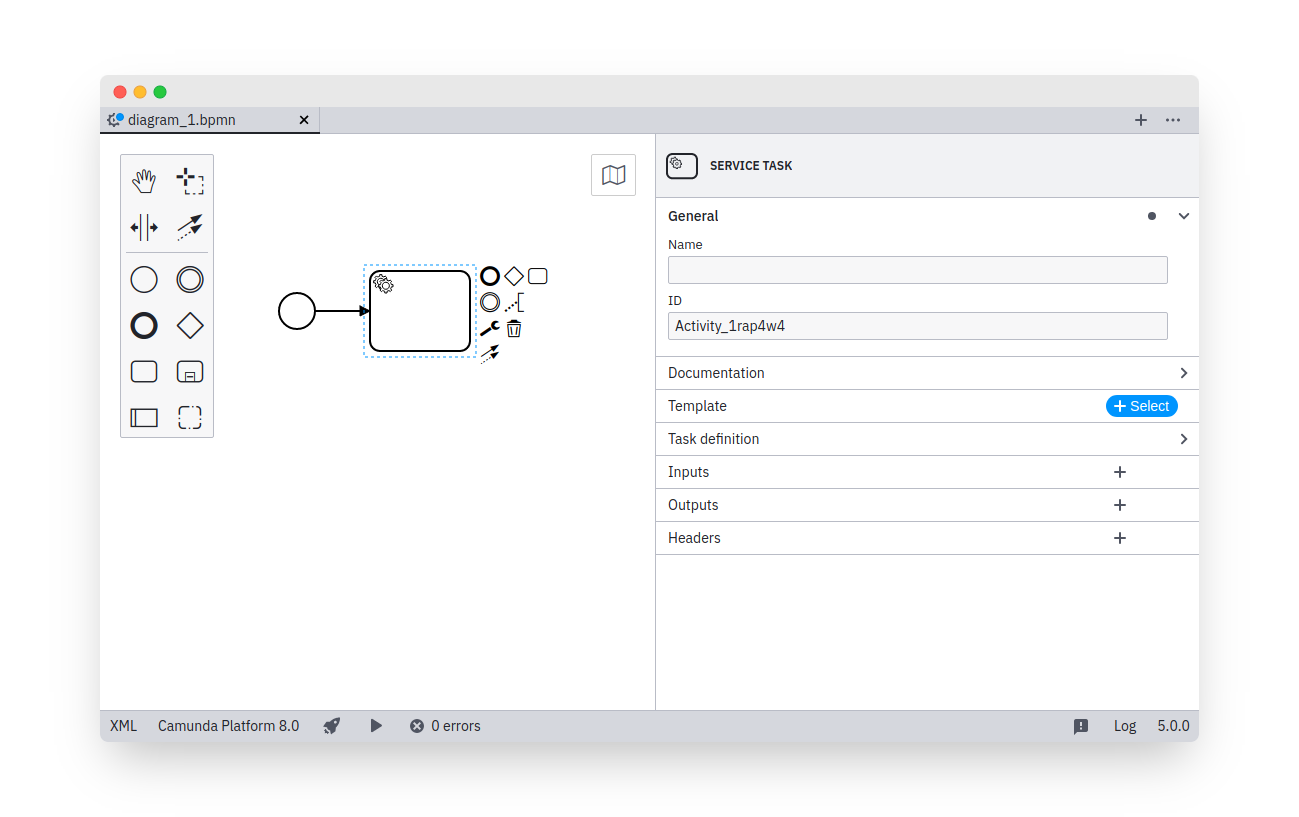
You can download the Open Source Desktop Modeler from this url, by selecting the proper O.S.
Warning
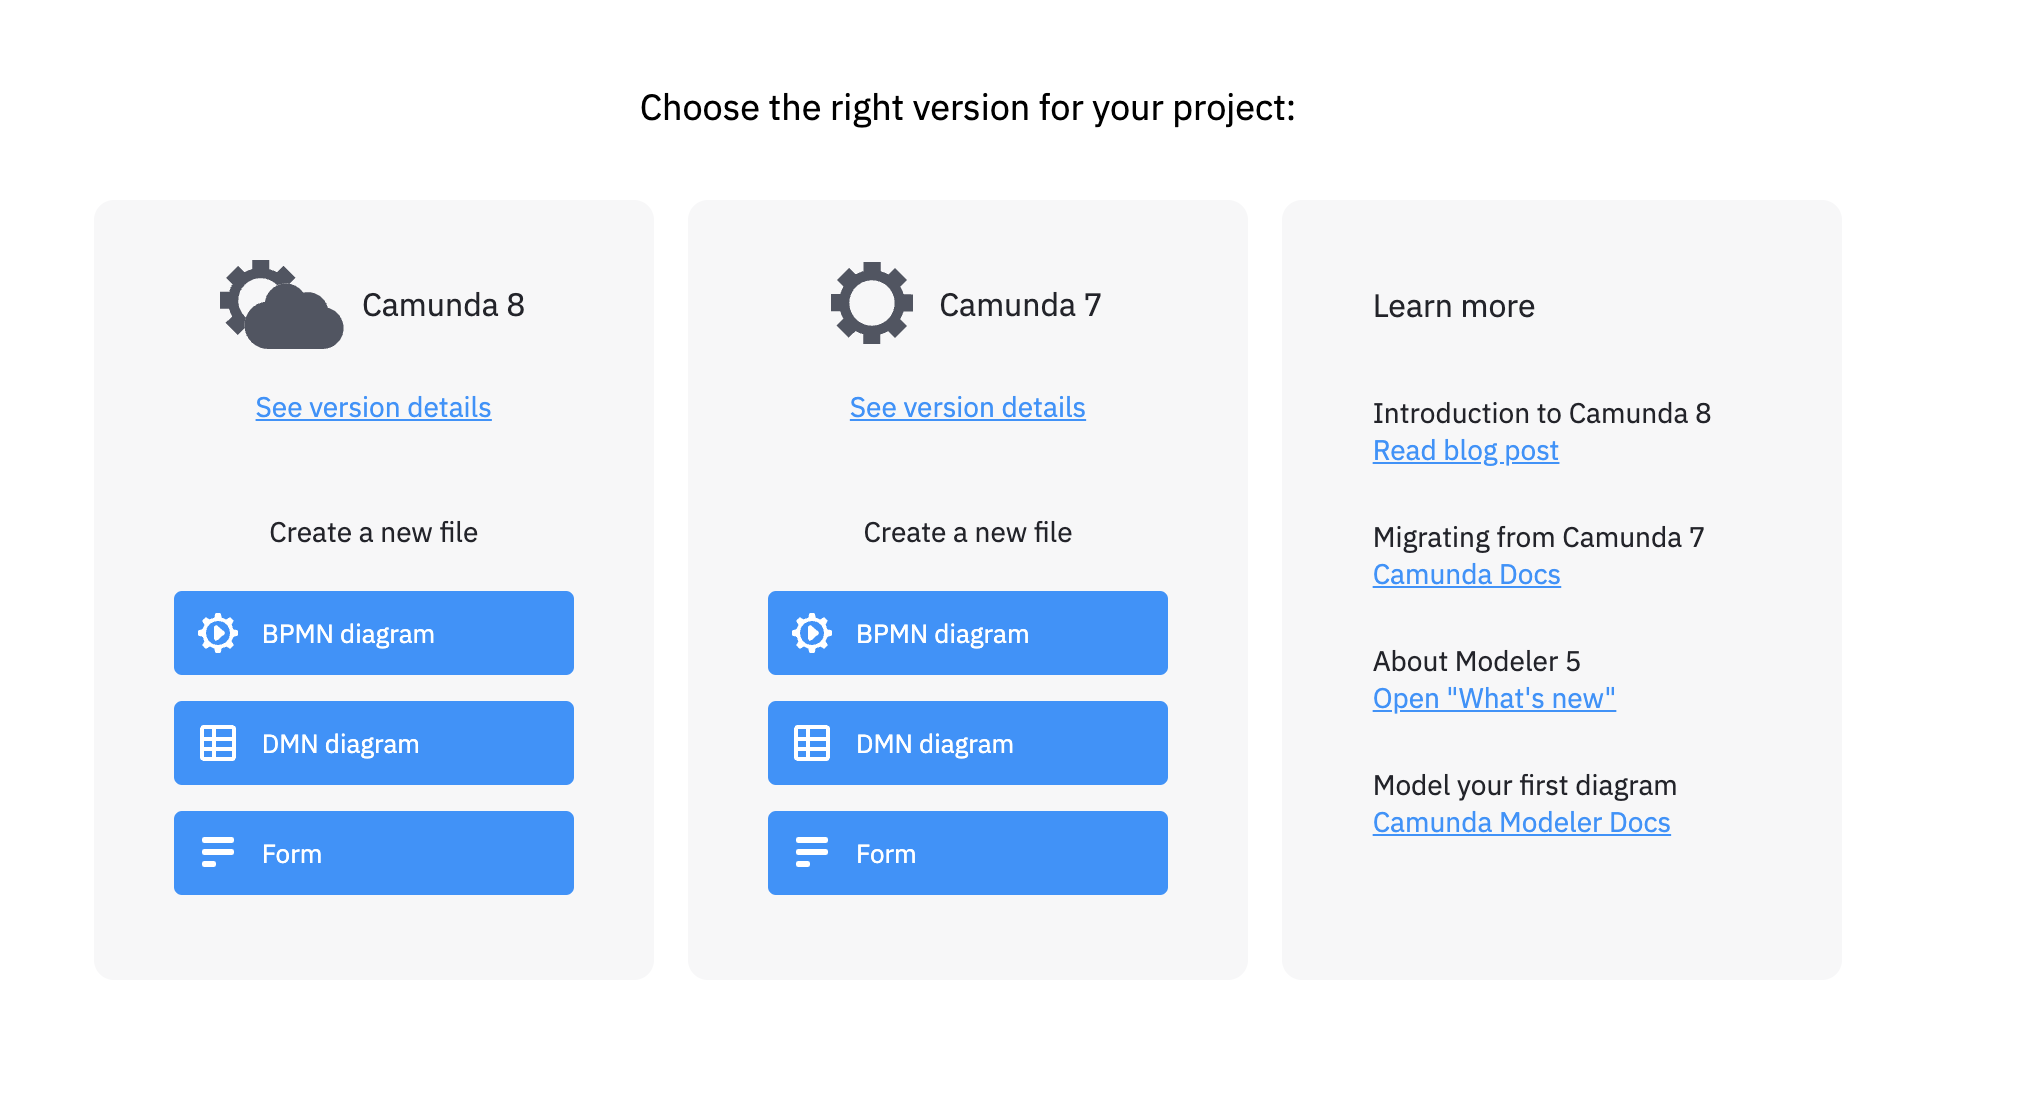
You would need to select the proper version of Camunda to start designing the BPMN or DMN models.
WebApps#
Run the application and go to Camunda WebApps at http://localhost:8080
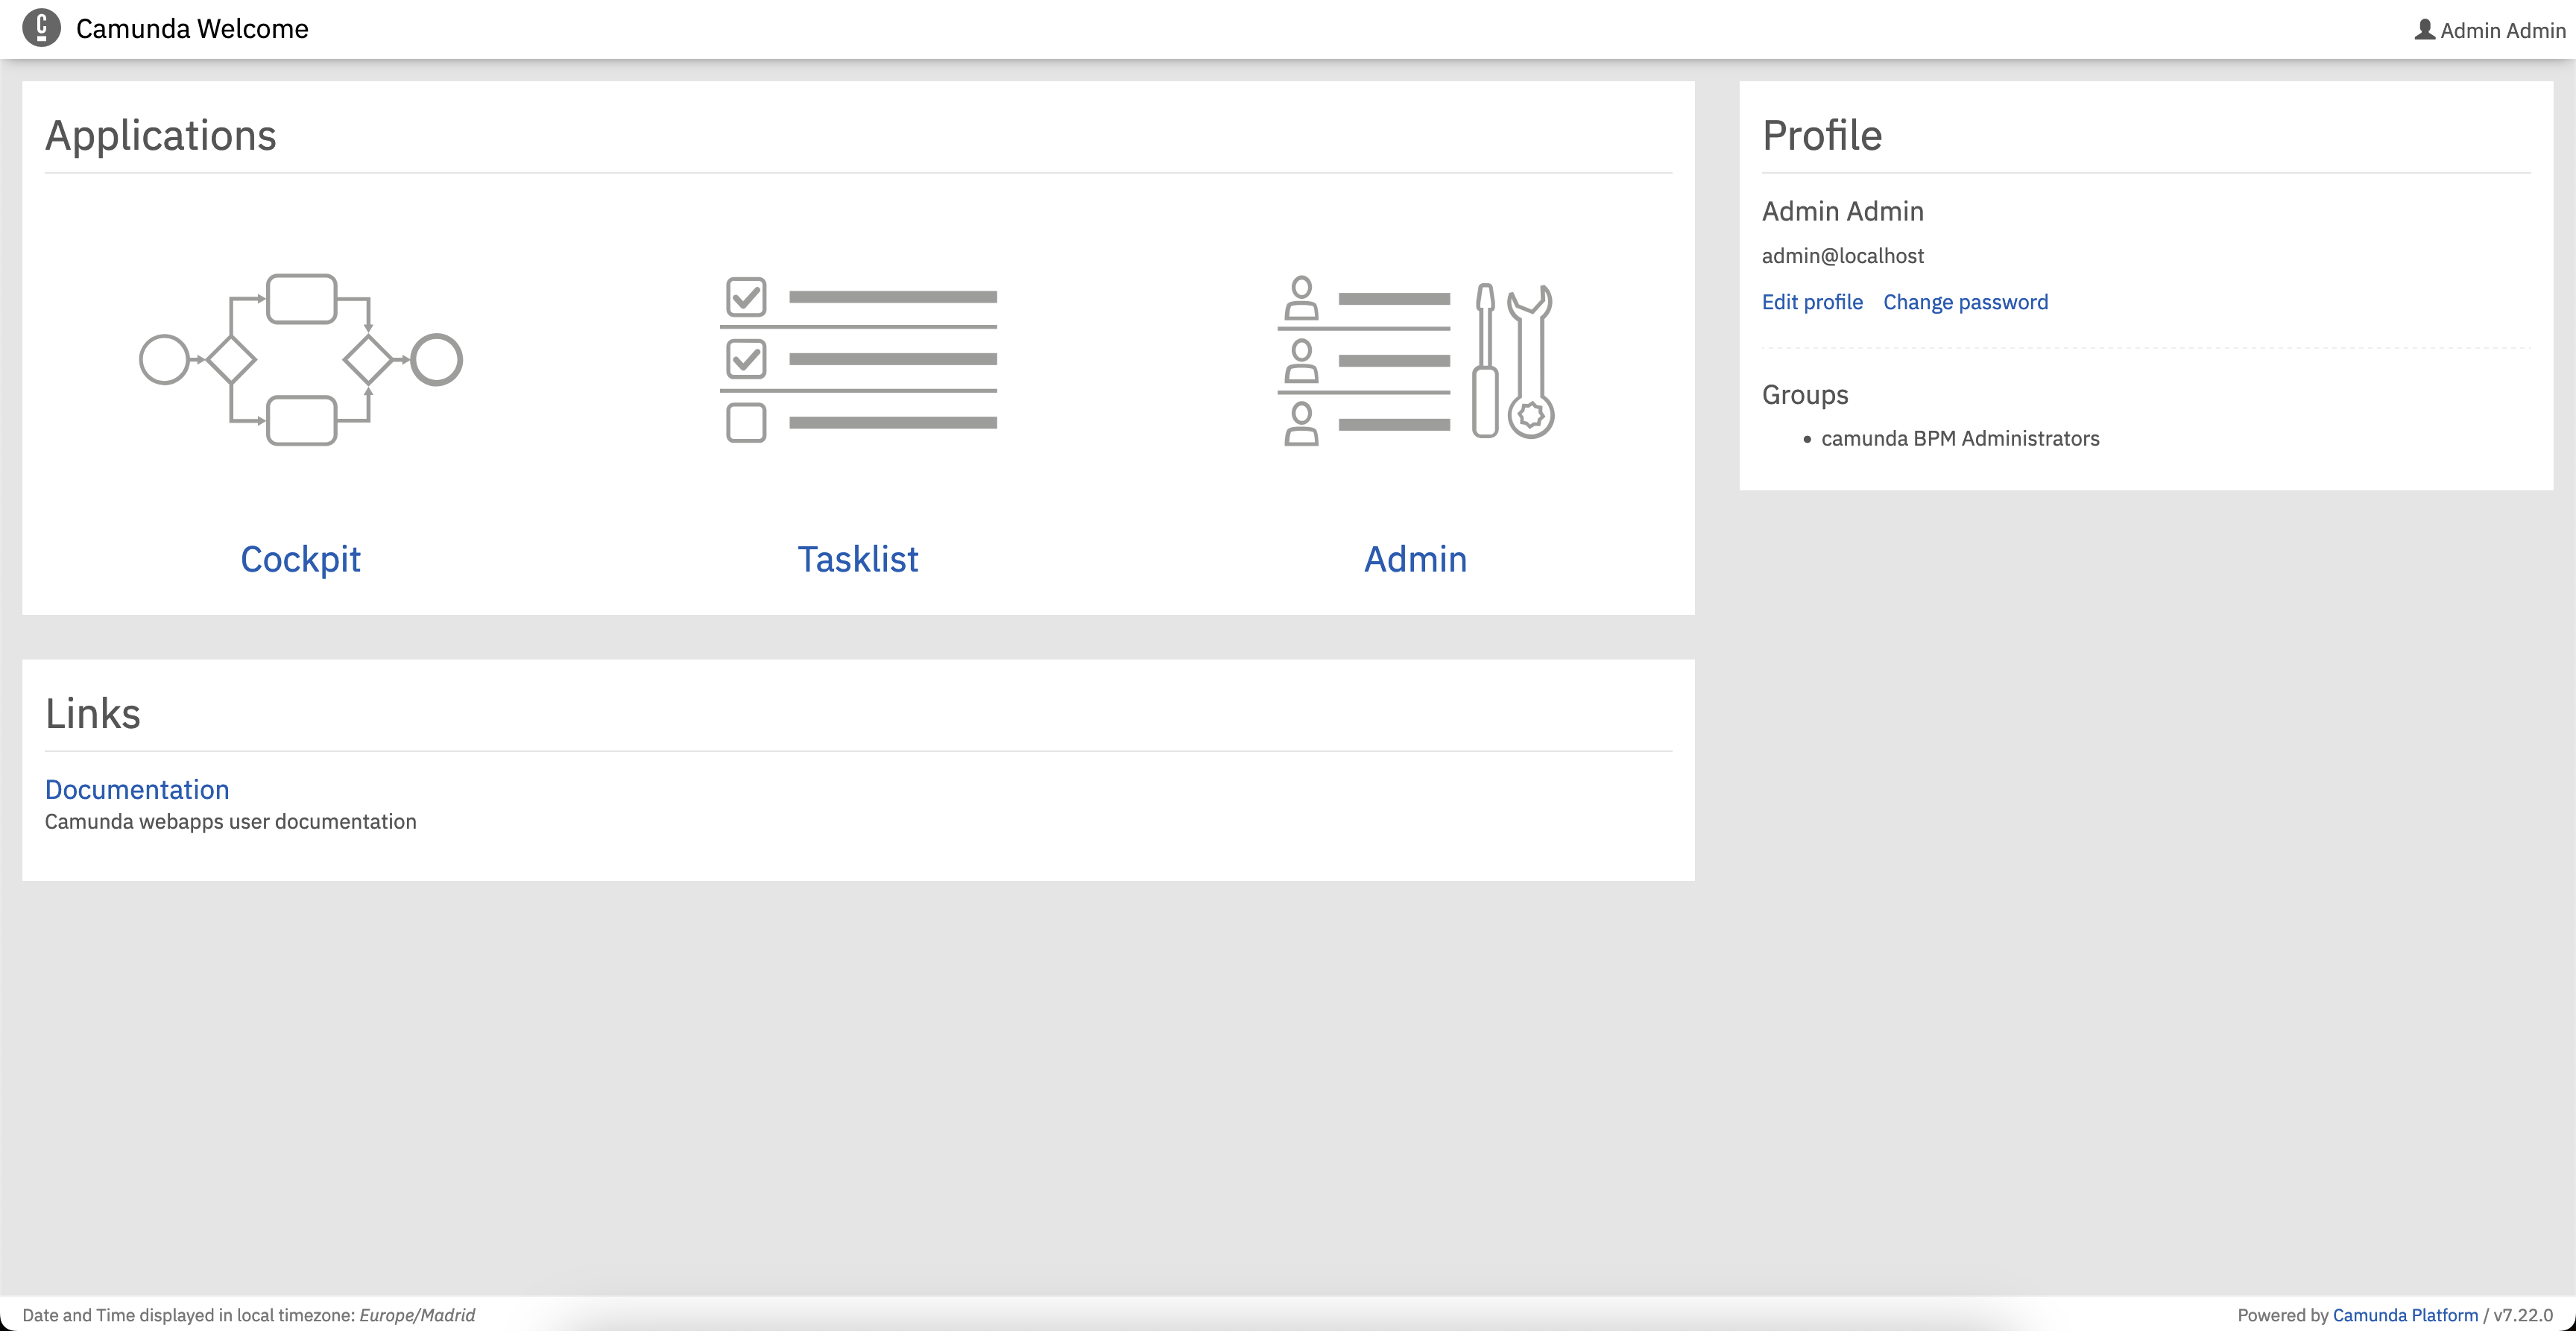
For specific webapp use following links:
Tasklist#
To manually start a process go to TaskList Dashboard.
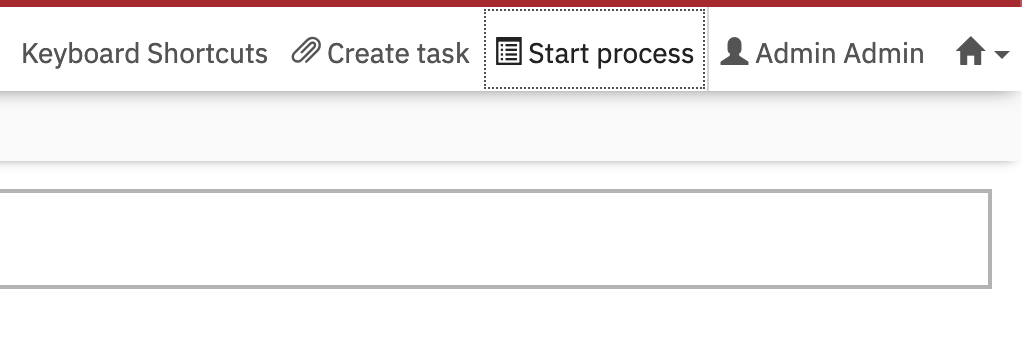
Click to Start process button on the top-right corner of the screen.
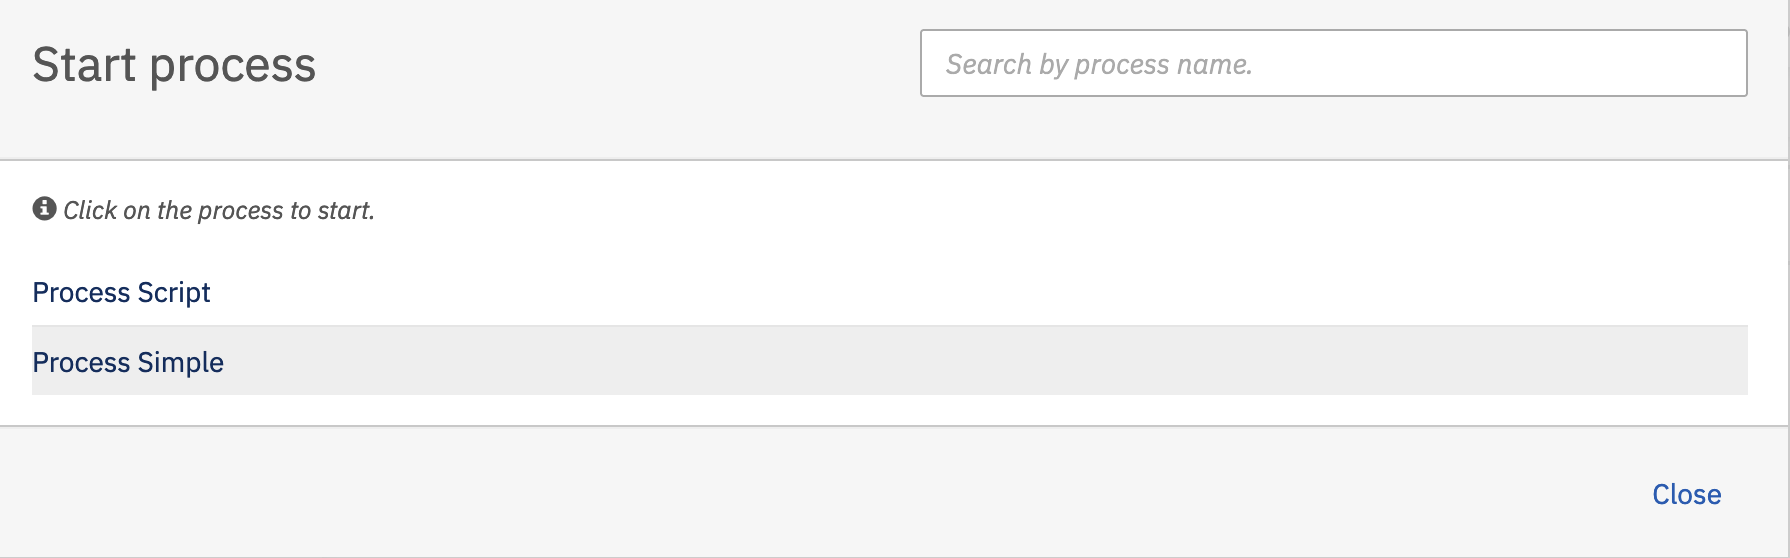
Select the workflow (Process Simple) to be started among the deployed ones.
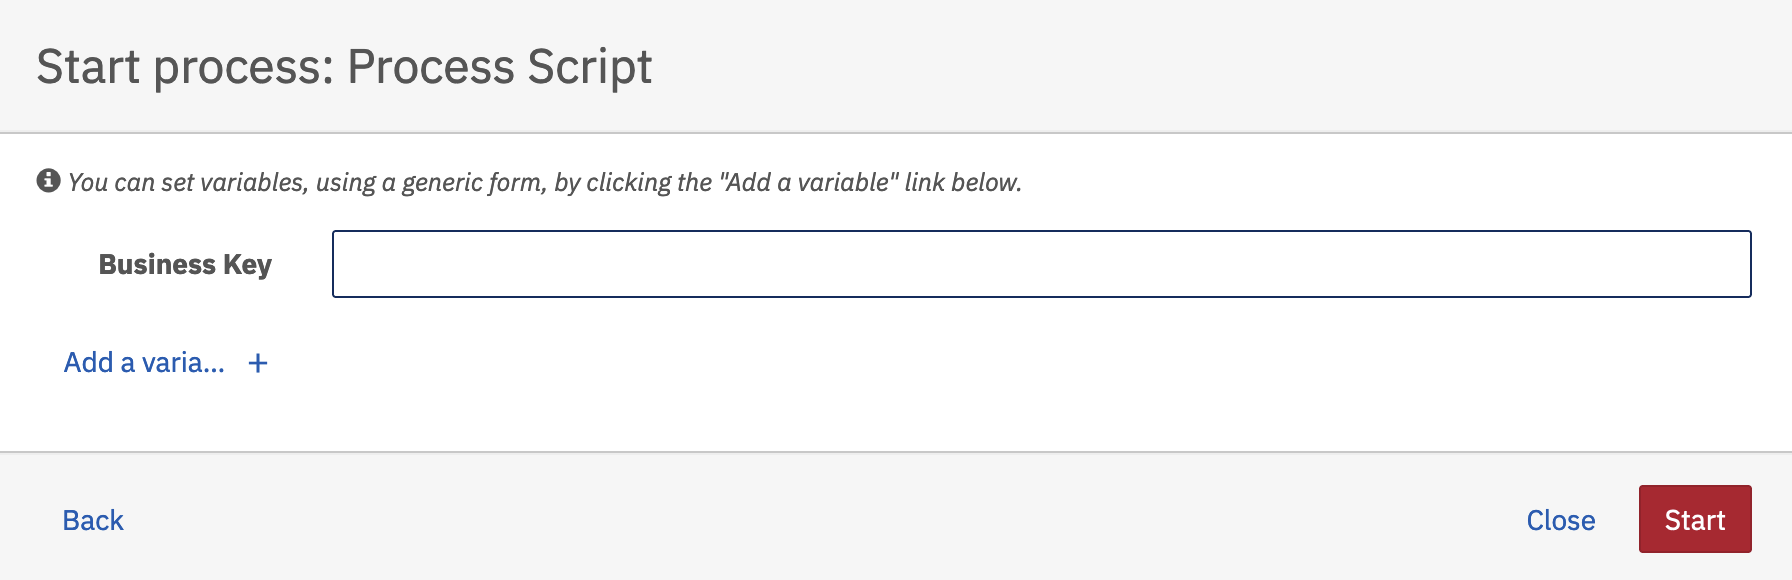
Set a Business Key to identify the process and finally click Start.
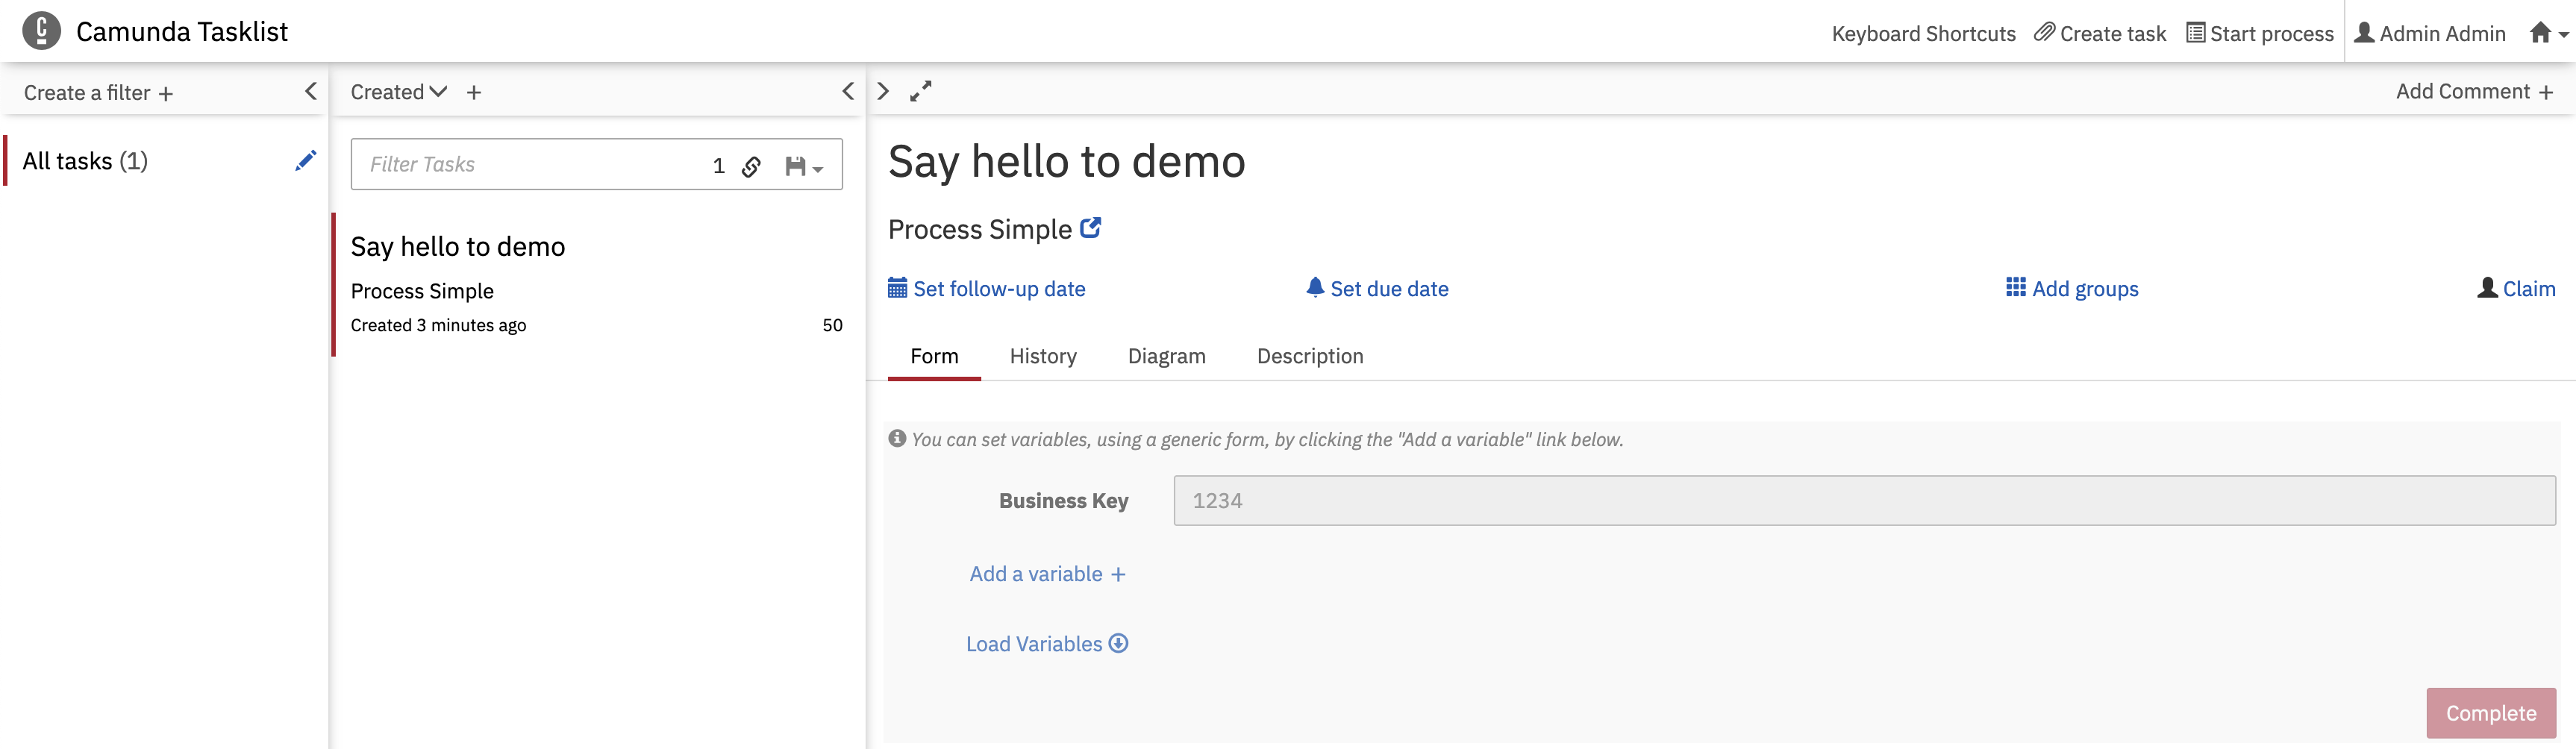
This will start a process instance. Since it's a simple process with an User Task, this will be listed in the tasklist, so press F12 or reload the page to refresh the current webpage. You cannot complete it until the task will be assigned to an user or claimed.
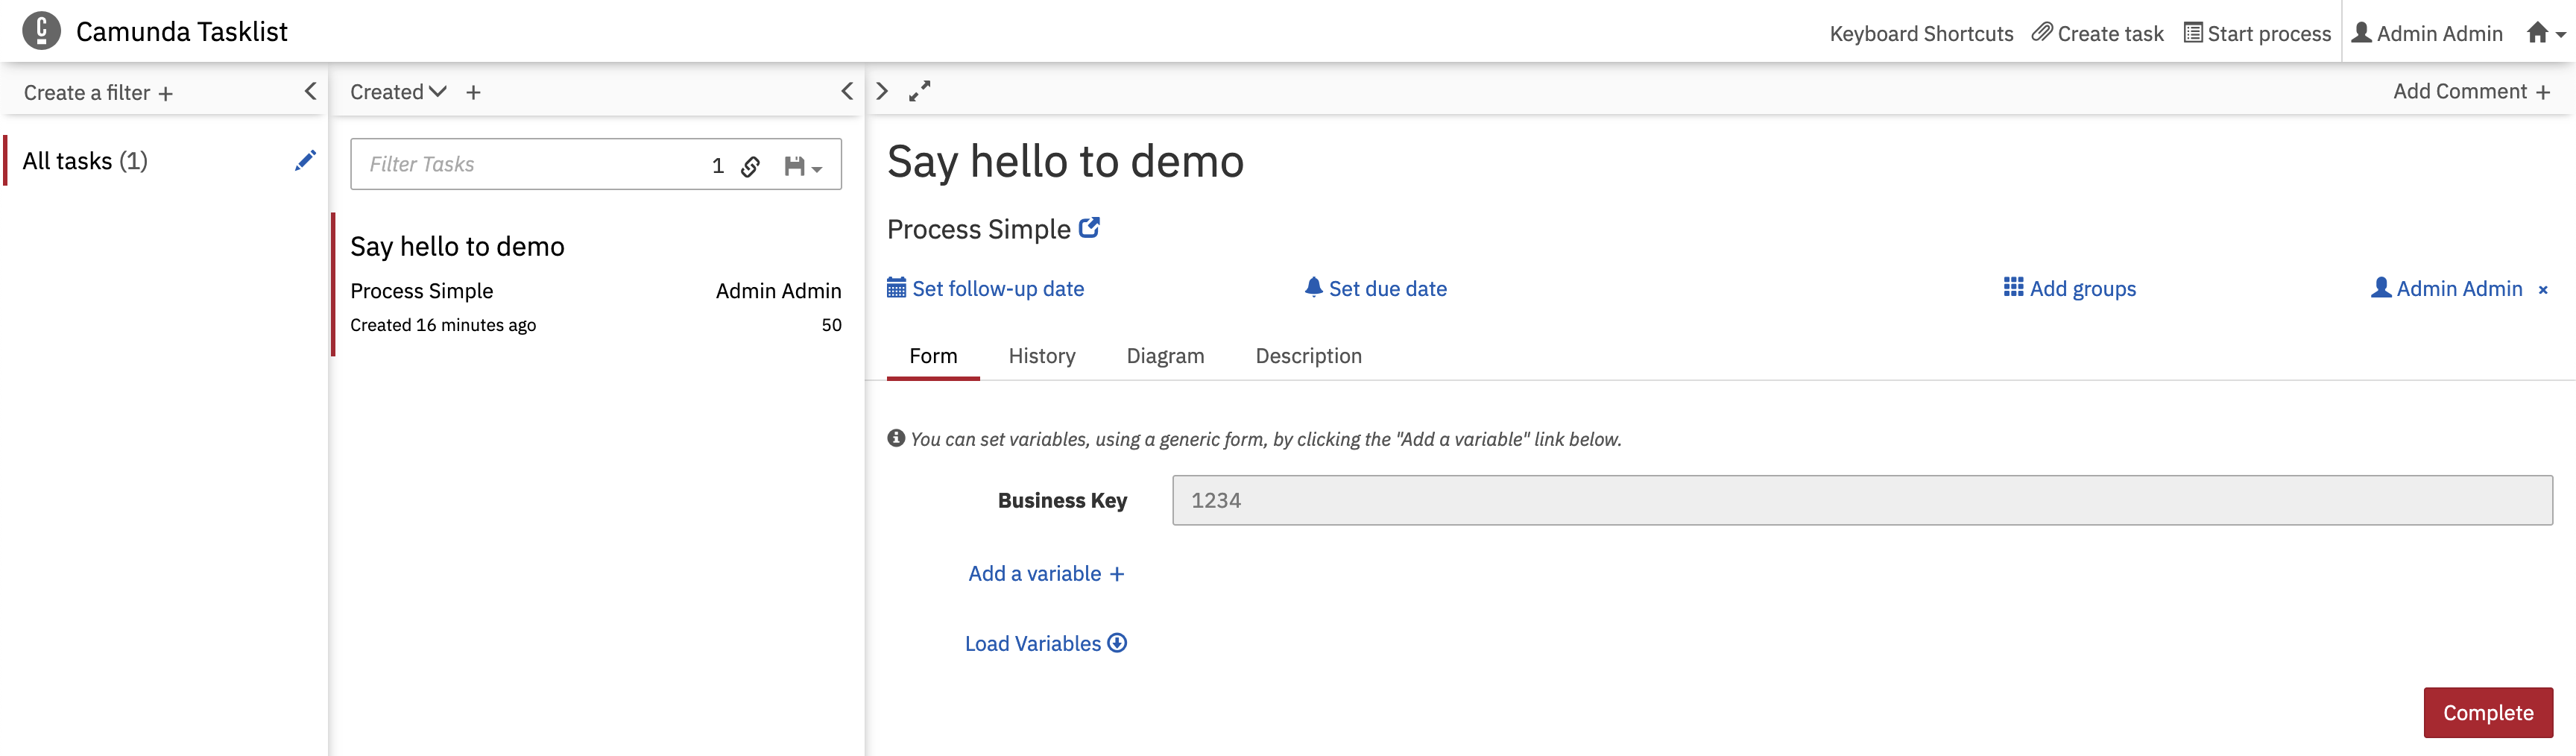
Once you (claim) or somebody else have been assigned to the task, it can be completed.
Cockpit#
Cockpit gives you a real-time view of BPMN processes and DMN decision tables as they run, so you can monitor their status and quickly identify technical incidents that slow down or stop workflows.
Note
Cockpit will only show the current process instances being running, for the historical processes you must upgrade to the Enterprise Camunda version.
From the previous example, the process is still running and the User Task is still pending to be completed. You can visualize this information within the cockpit.
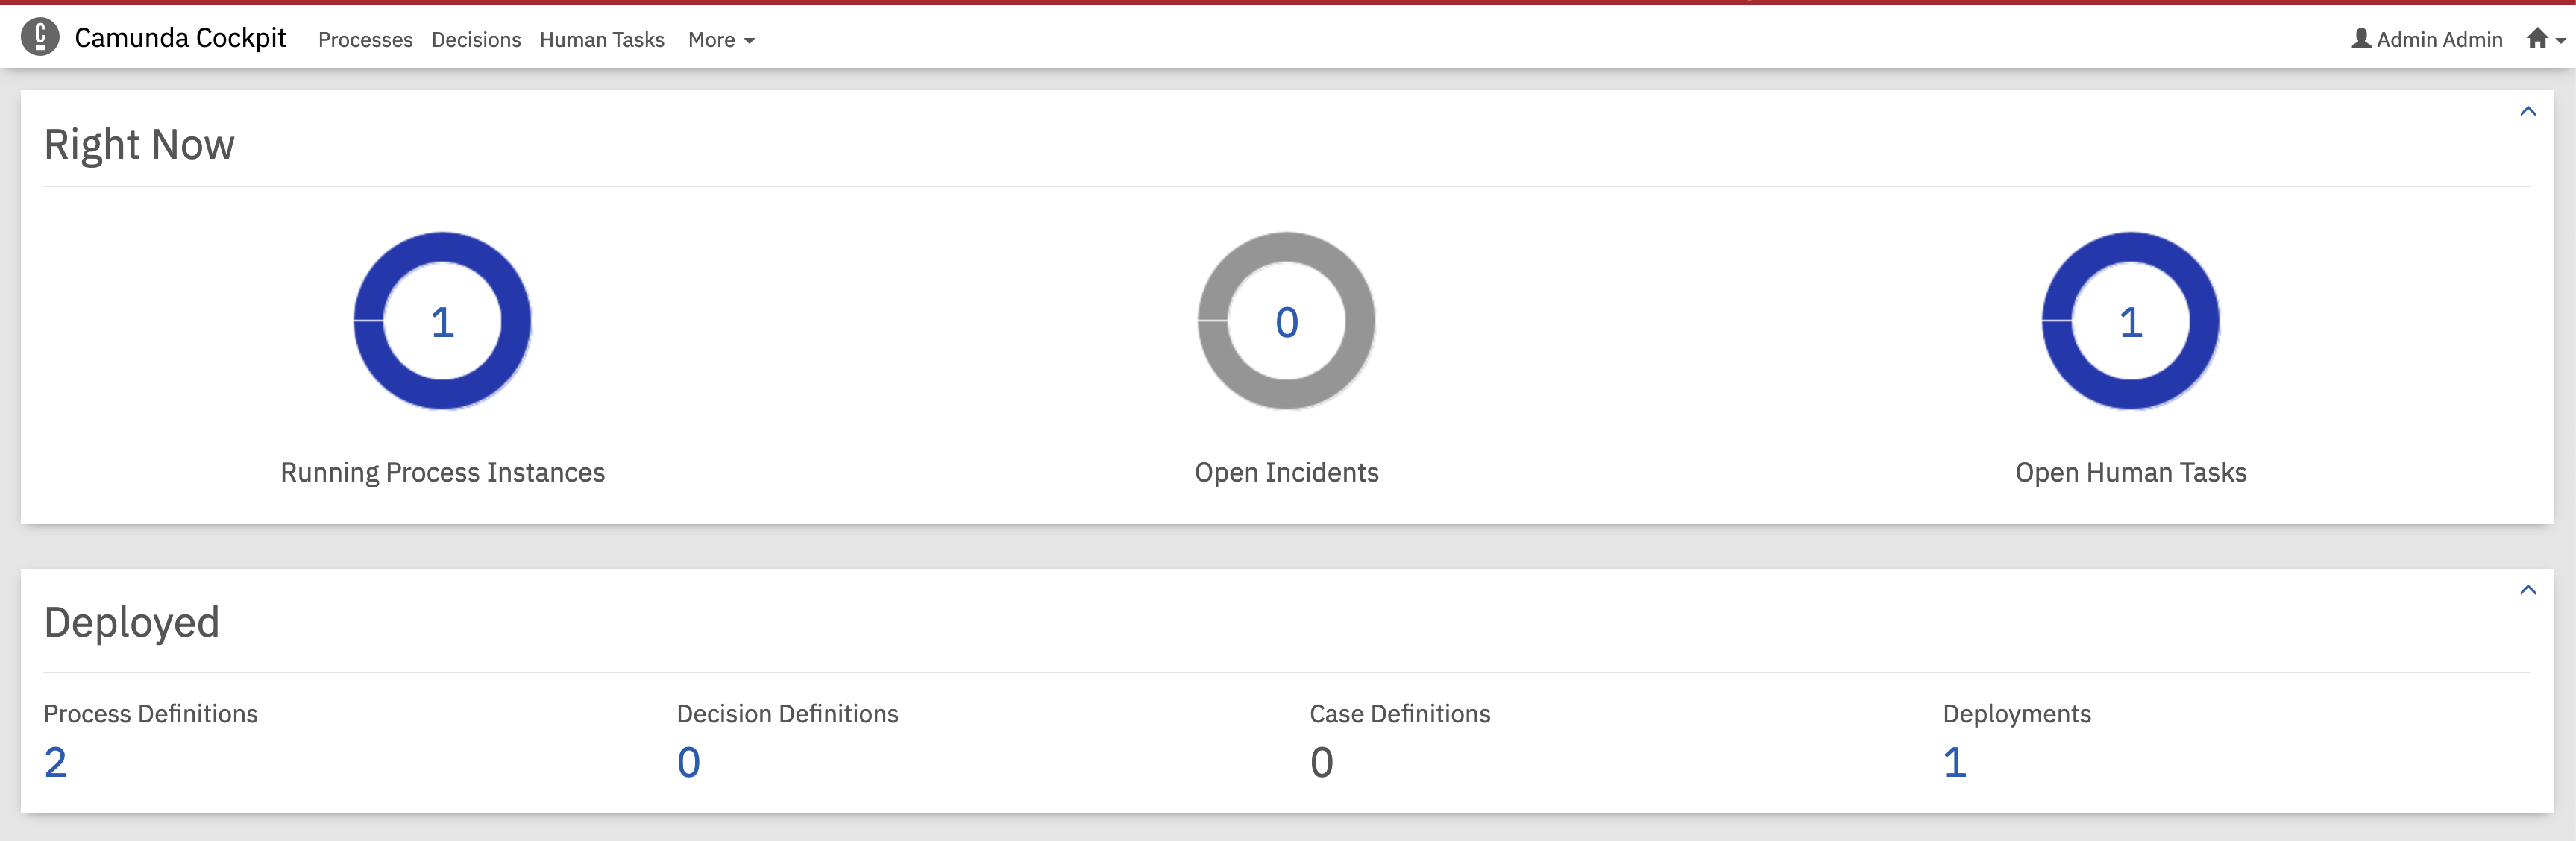
In the Running Process Instances options, you can see the definition version, definition key and name, history time to live (HTTL), process instances (Current Step, start time, Business Key), incidents, job definitions.
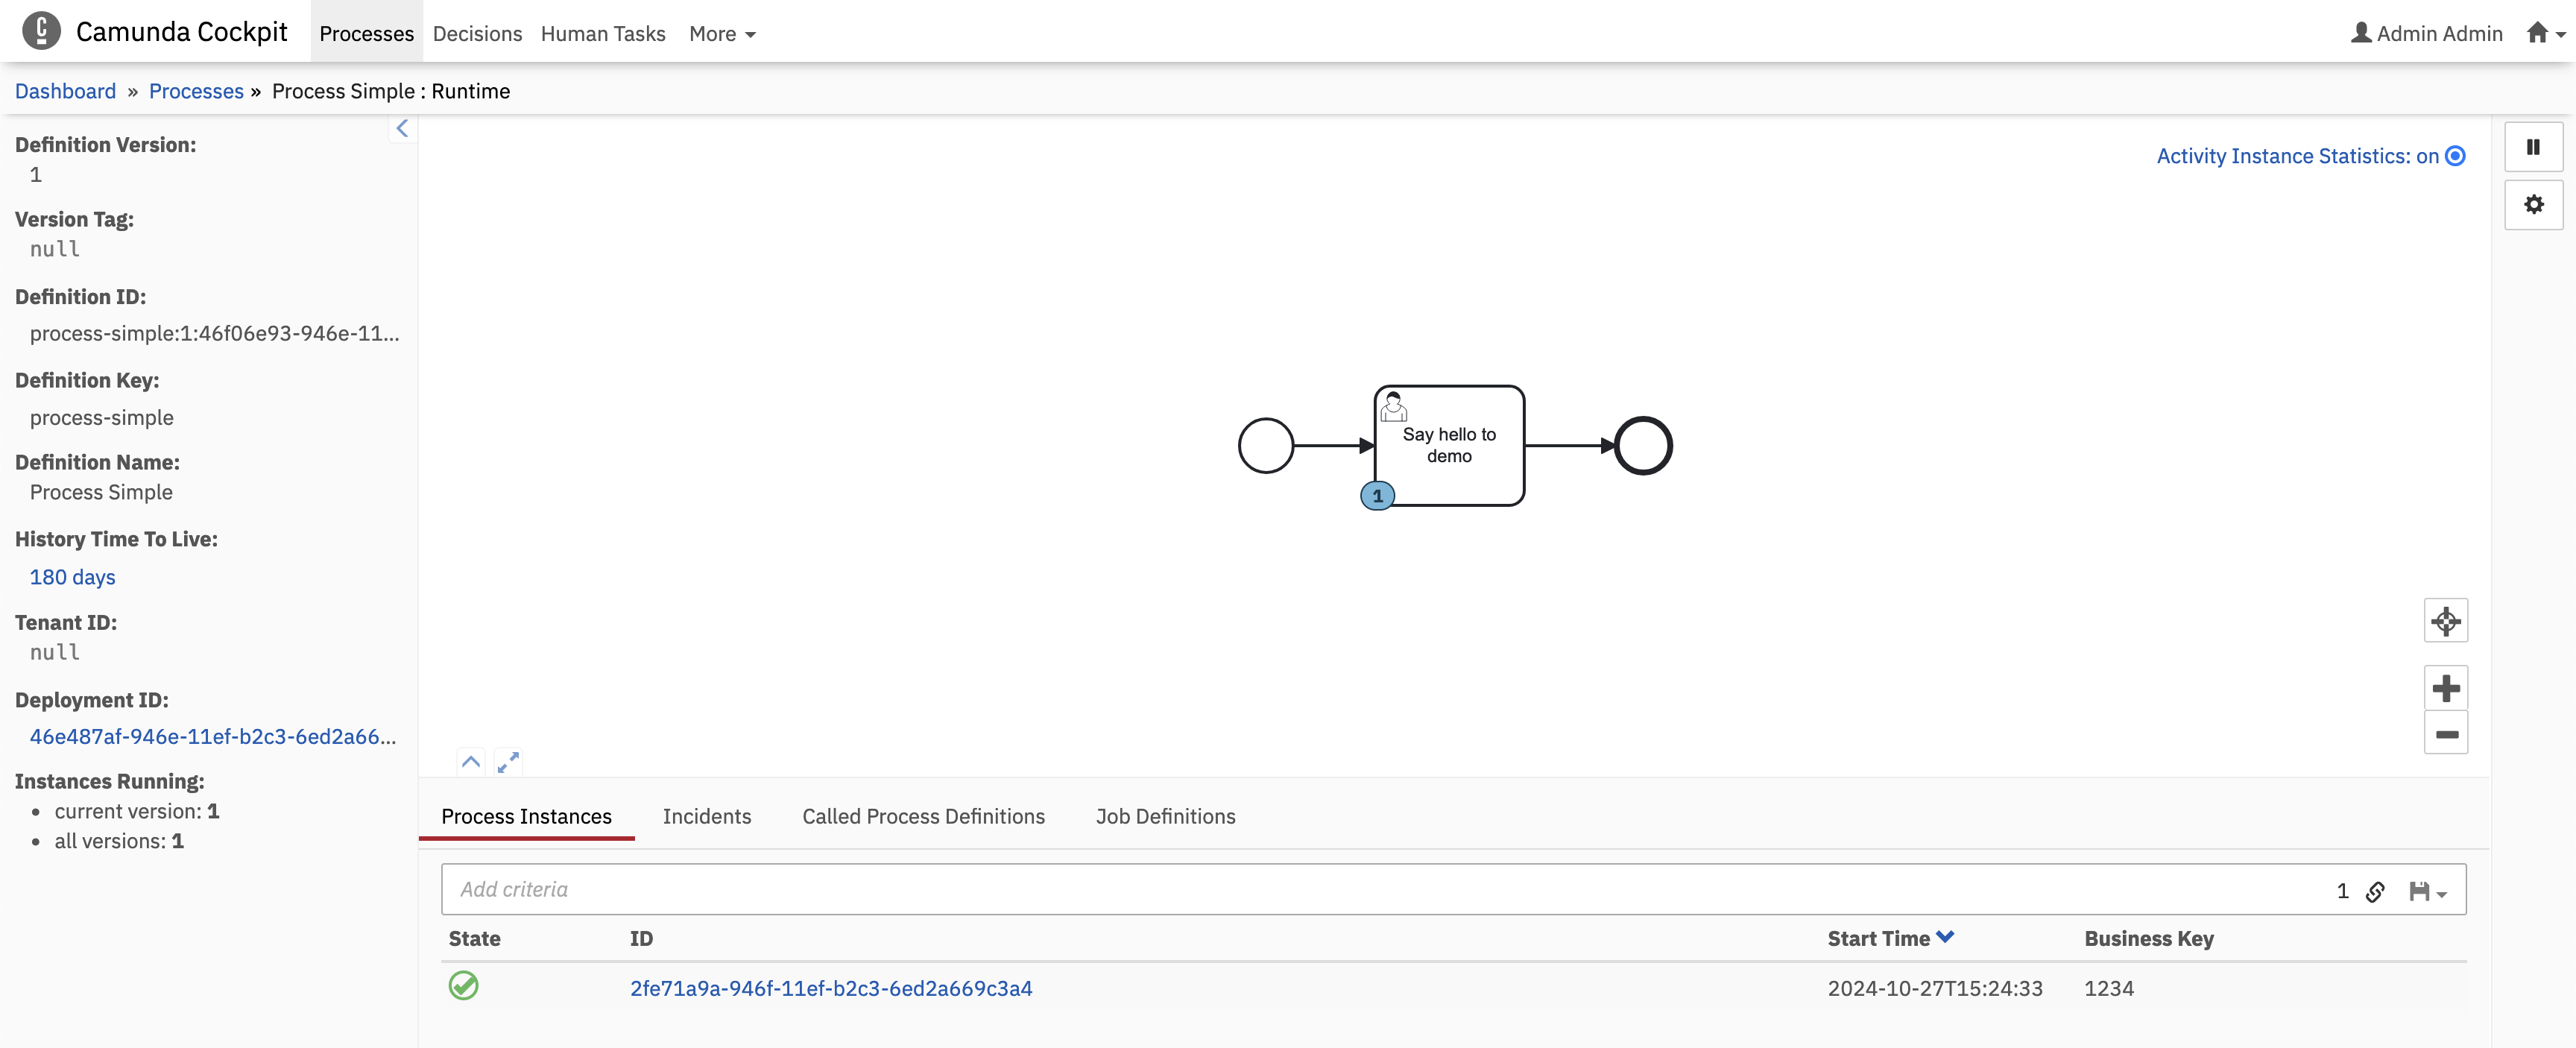
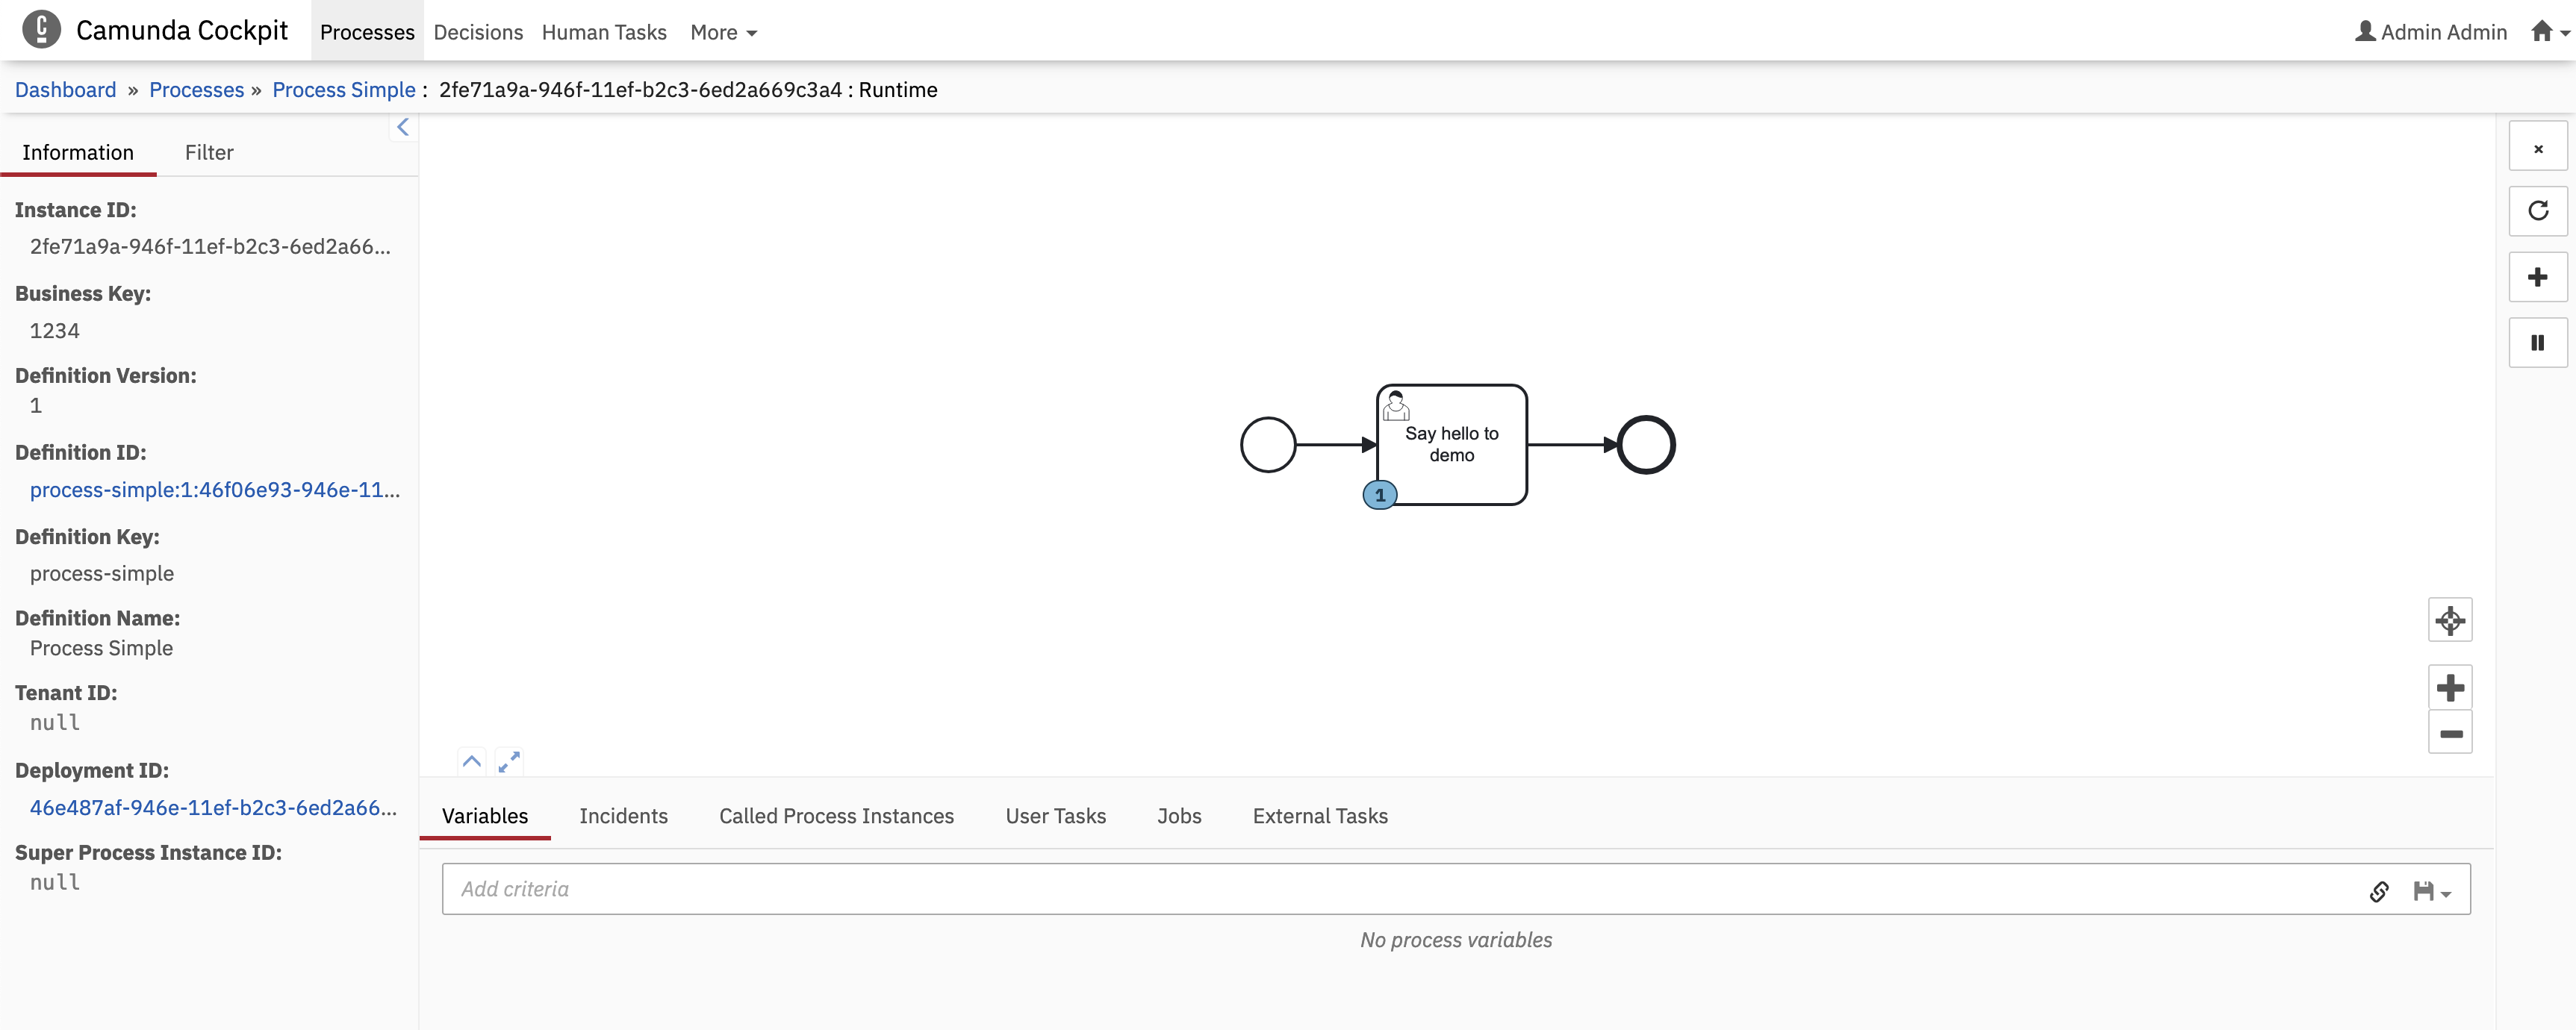
In process instances you can take a look closer to the process running, variables, user tasks, etc..
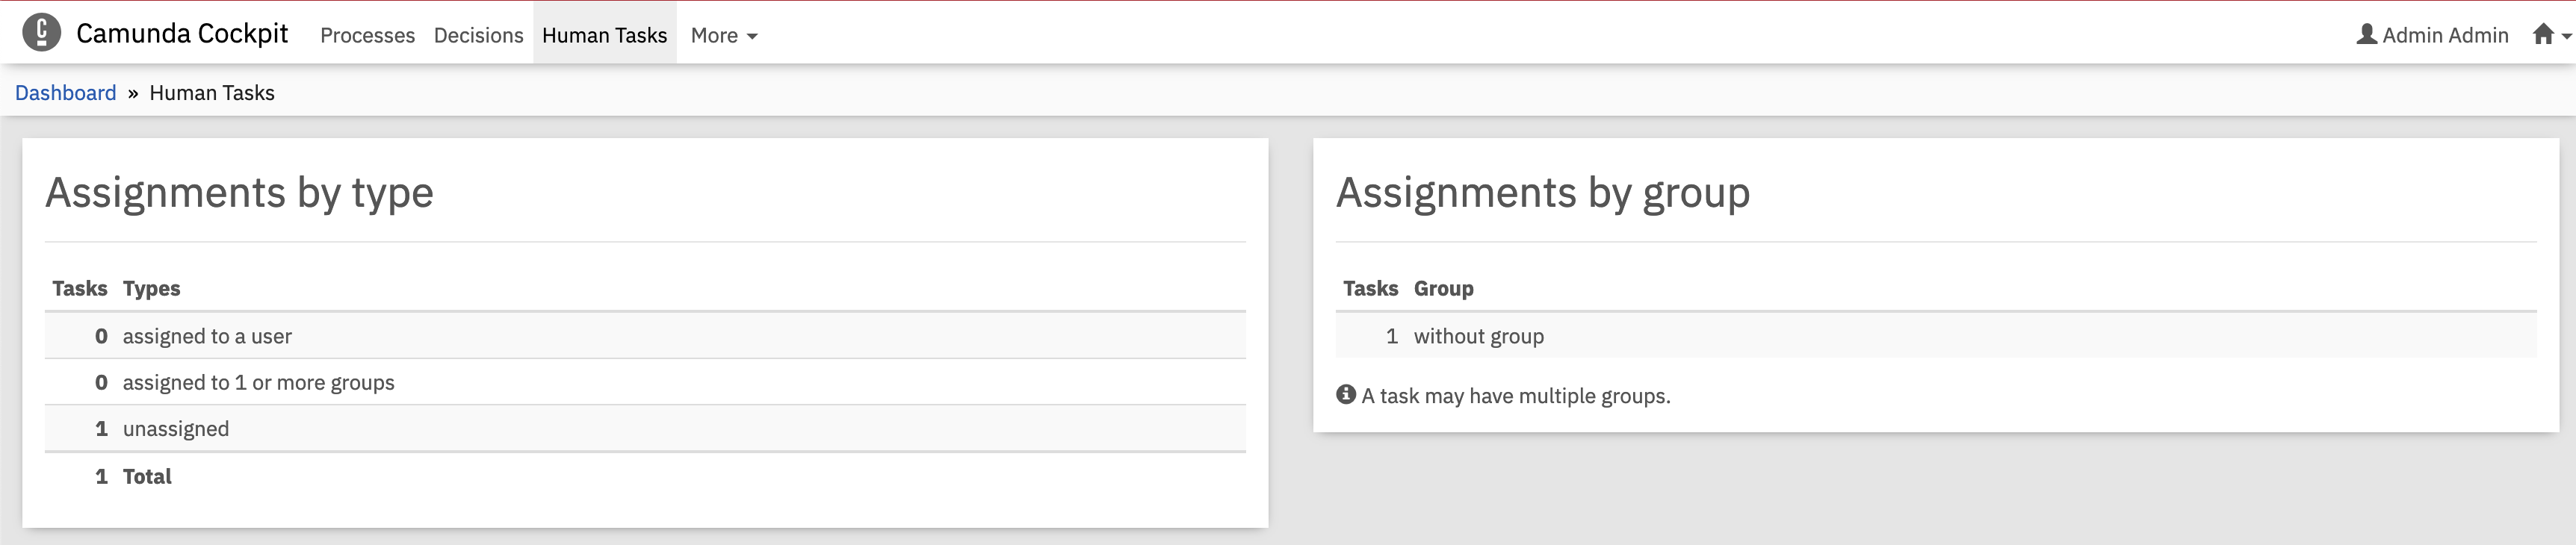
In the Open Human Tasks options, you can visualize a resume for all assignments by type and group for all processes.
IDE#
IntelliJ#
Enable Auto-save#
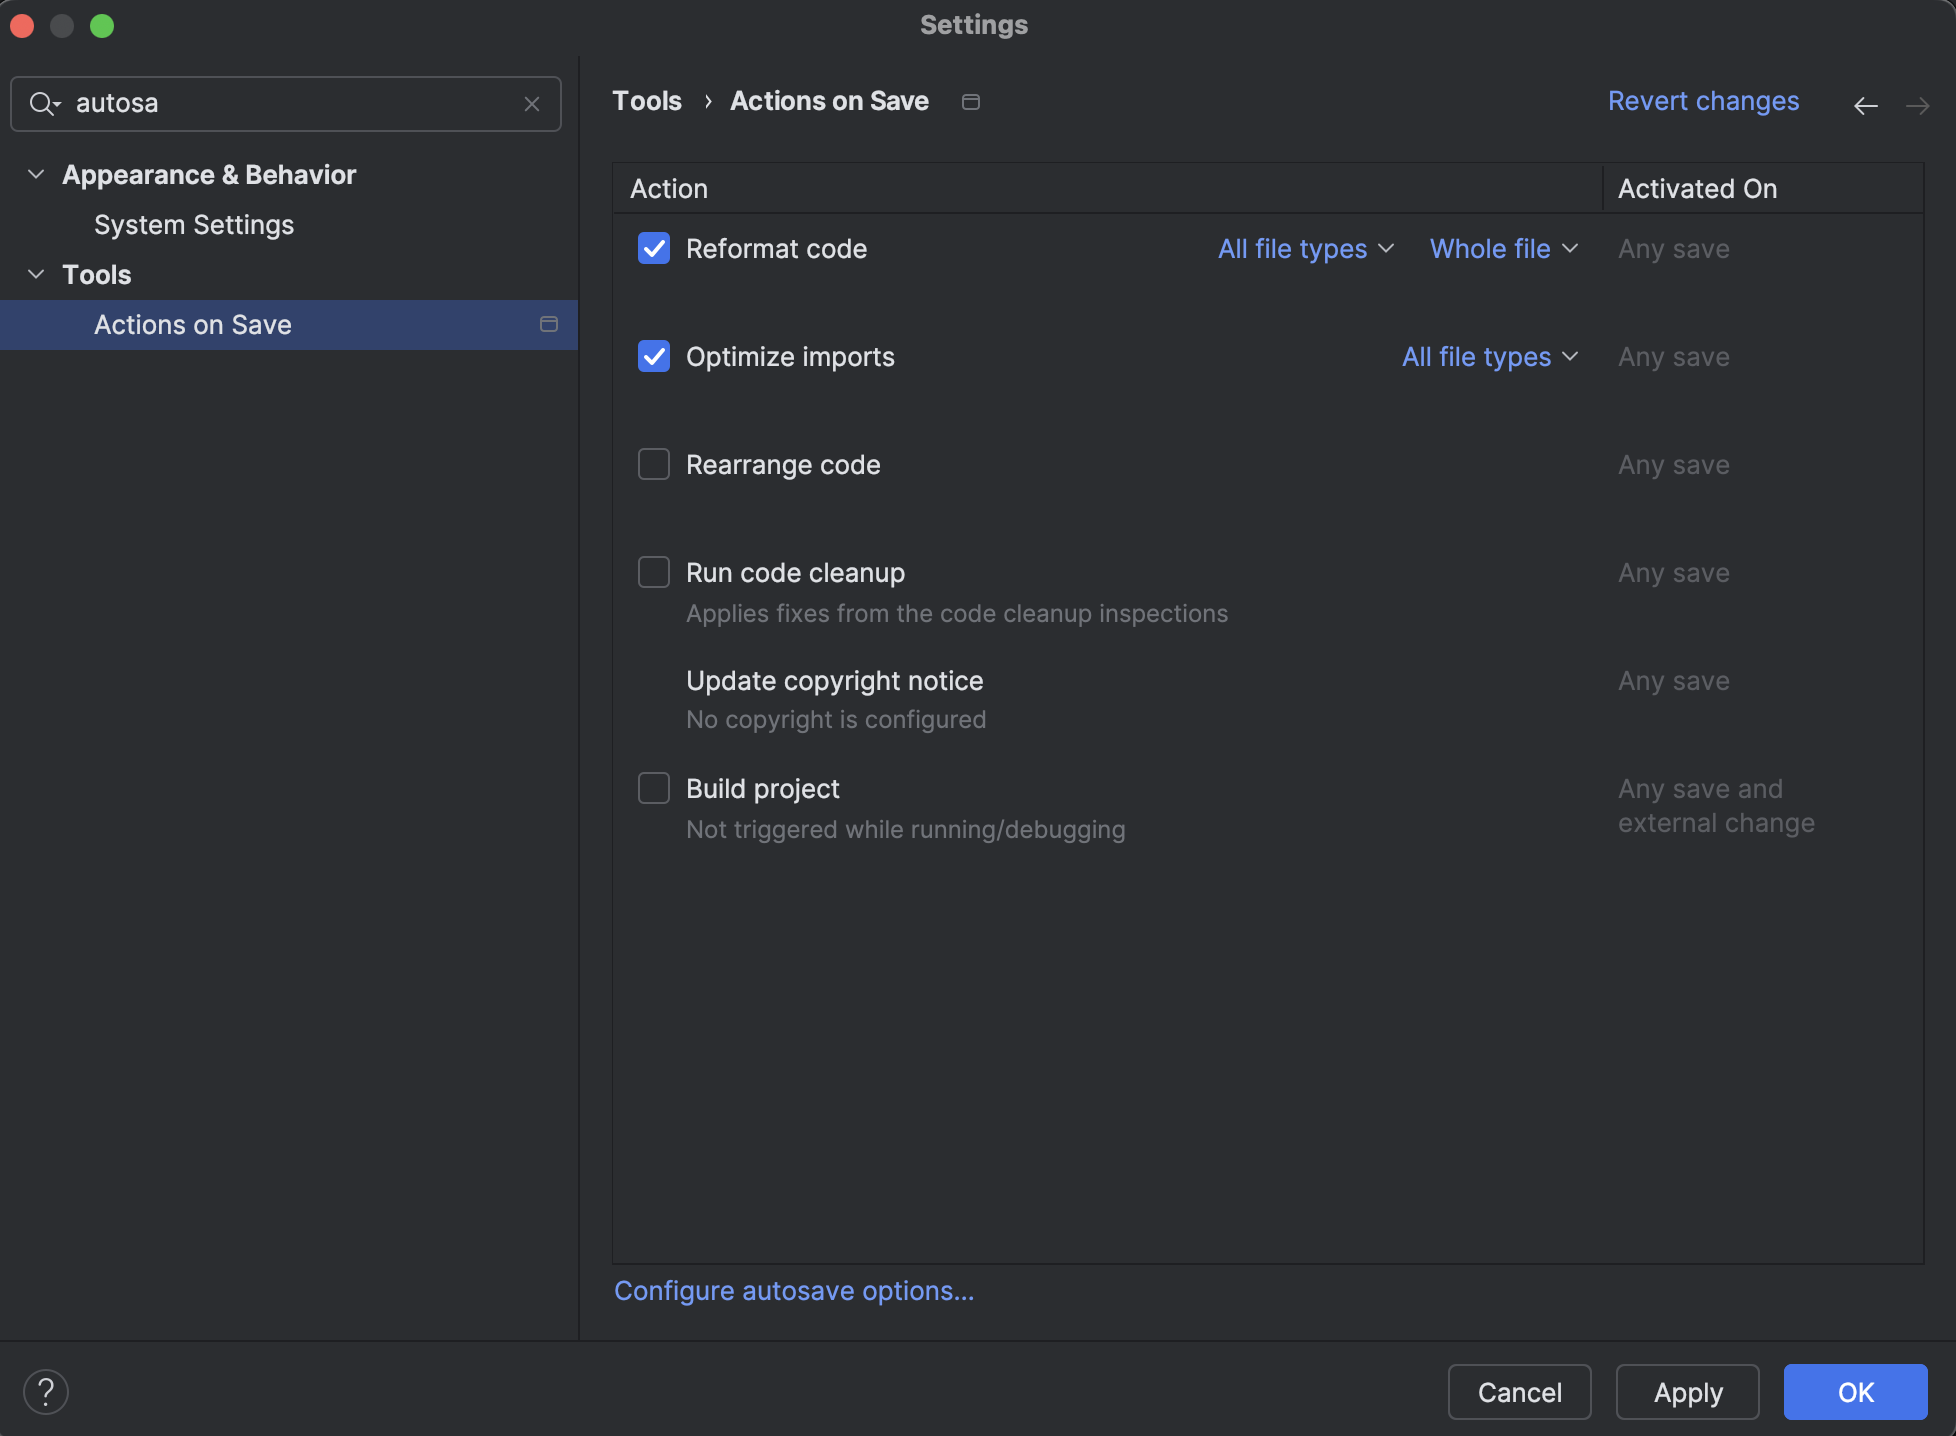
Enable following auto-save options within IntelliJ, to enable auto-formatting and removing unused dependencies when saving.